
Are you interested in growing your own Brussel sprouts? Did you know that you can actually grow them from scraps? It’s a simple and rewarding process that allows you to enjoy delicious homegrown sprouts. In this guide, we will walk you through the step-by-step process of growing Brussel sprouts from scraps, so you can have a bountiful harvest right in your own backyard.
Key Takeaways:
- Grow Brussel sprouts from scraps by placing the bottoms of the sprouts in a container with water.
- Transplant the sprouts into your main garden when they are 3 inches tall.
- Choose a sunny location for your Brussel sprouts and water them regularly.
- Harvest the sprouts when they reach the desired size, typically 1 to 1 1/2 inches wide.
- Store harvested sprouts in the refrigerator for up to 14 days.
Preparing the Scraps
When it comes to growing Brussel sprouts from scraps, the first step is to properly prepare the scraps. This ensures that you have the best possible chances of success with your sprout cuttings.
To start, wash the Brussel sprout scraps thoroughly, removing any dead leaves and dirt. It’s important to have clean scraps to prevent any potential diseases or pests from affecting your cuttings. Rinse off any grime and pay special attention to the bottom of the sprouts, where you’ll be making the cut. Remove any yellowing or dead leaves, as fresh sprouts are best for this method.
By taking the time to properly prepare your Brussel sprout scraps, you’ll be setting yourself up for success as you move forward with the propagation process. So make sure to give your scraps a good wash and remove any unwanted foliage before moving on to the next steps.
Now that you’ve prepared your Brussel sprout scraps, it’s time to move on to the next stage of the process: cutting the scraps. By making the right cut, you’ll be able to encourage the growth of roots and set the stage for successful propagation.
To cut the scraps, focus on the bottom, or the flat part, of the sprout. This is where the roots will grow out from, so it’s important to make a clean and precise cut. Use a sharp knife or scissors to carefully remove the bottom portion of the sprout, ensuring that you have a clean cutting surface.
With your Brussel sprout scraps properly prepared and cut, you’re now ready to move on to the next steps in the process. By following these instructions and giving your scraps the attention they need, you’ll soon be on your way to growing your very own Brussel sprouts from scraps.
Cutting the Scraps
To successfully grow Brussel sprouts from scraps, the first step is to properly cut the scraps. After preparing the sprouts by washing them and removing any dead leaves, it’s time to make the precise cut that will promote root growth. Cut off the bottom, or the flat part, of each sprout. This cutting will serve as the base from which the roots will grow.
By cutting the scraps in this way, you are creating the ideal conditions for the sprouts to develop a strong root system, enabling them to grow into healthy and robust plants. It’s important to ensure that each cutting is about the same height, ideally around 3 inches, to ensure consistent growth.
The cutting process is a crucial step in the journey of growing Brussel sprouts from scraps. With a steady hand and a sharp knife, carefully cut the bottom of each sprout, and you’ll be on your way to cultivating your very own Brussel sprouts garden.
Remember, precision is key when cutting the scraps, as it will determine the success of root development. So take your time, follow the steps, and soon you’ll be growing beautiful Brussel sprouts from scraps with confidence!
Preparing the Container
Once you have your Brussel sprout scraps ready, it’s time to prepare the container for them to grow. Choosing the right container is important for the success of your plants. You can use a plastic tub or a clay pot, depending on your preference and the resources available to you.

Before filling the container, ensure it has drainage holes at the bottom to prevent water from pooling and causing root rot. If it doesn’t have holes, you can make some using a drill or hammer and nail.
Once your container is ready, fill it with half an inch of water. This provides the necessary moisture for the roots to develop. Make sure the water is clean and free from any contaminants. If you have access to filtered or dechlorinated water, that would be ideal. However, tap water is generally safe to use as well.
Arranging the Scraps
Now that you have prepared your Brussel sprout scraps, it’s time to arrange them in water. This step is crucial as it allows the scraps to develop roots and begin their journey towards becoming full-grown sprouts. Follow these simple steps to arrange your Brussel sprout scraps:
- Choose a suitable container: Select a container that can hold your scraps and provide enough space for water. A plastic tub or a clay pot works well for this purpose.
- Fill the container with water: Pour half an inch of water into the container. Make sure not to overfill the container as it can lead to waterlogging.
- Place the scraps: Take your prepared Brussel sprout scraps and arrange them in the container with the cut side down. It’s okay if they touch each other or the container, but avoid overcrowding them to ensure proper growth.
By arranging the scraps in water, you provide them with a favorable environment to develop roots. This method allows you to nurture the scraps until they are ready to be transplanted into your main garden.

Remember to change the water in the container daily to prevent stagnation and promote healthy root development. The scraps will gradually develop roots, indicating that they are ready to be transplanted. Keep a close eye on their progress and proceed to the next step once the sprouts are approximately 3 inches tall and have a visible root system.
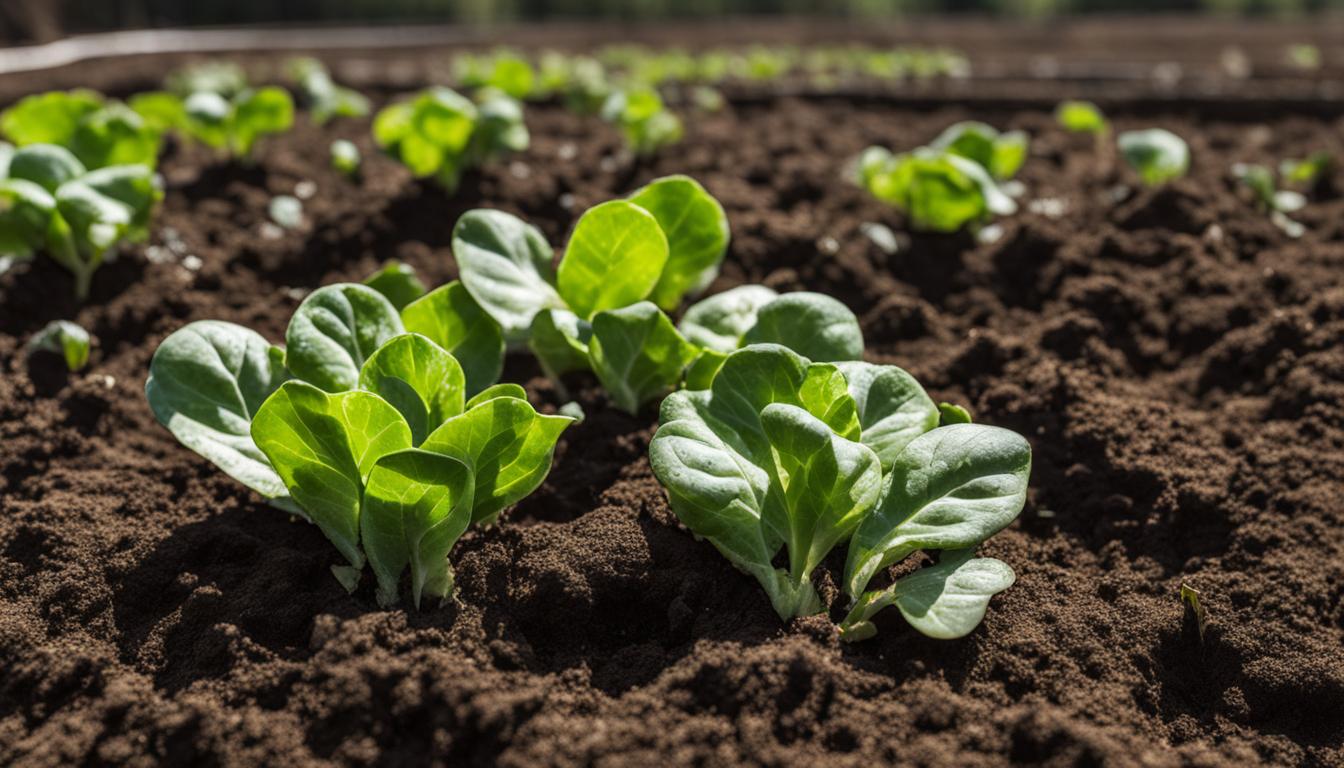
Transplanting the Sprouts
Once your Brussel sprout scraps have developed a visible root system and reached a height of 3 inches, it’s time to transplant them into your main garden. Transplanting the sprouts allows them to continue growing and eventually produce delicious Brussel sprouts. Follow these steps to ensure a successful transplant:
Choosing the Right Location
Before transplanting your sprouts, select a sunny location in your garden. Brussel sprouts thrive in full sunlight, so choose an area that receives at least six hours of direct sunlight each day. While a little shade won’t harm them, too much shade can slow down their growth.
Preparing the Soil
Prepare the soil in your chosen location by removing any weeds or debris. Dig a hole that is slightly larger than the root system of your sprout scraps. Make sure to loosen the soil at the bottom of the hole to promote root growth.
Transplanting the Sprouts
Carefully remove the sprouts from the container that held them in water. Gently separate any sprouts that may be touching each other, being cautious not to damage the roots. Place each sprout into a prepared hole, ensuring that the roots are completely covered by soil. Press the soil firmly around the base of the sprout to secure it in place.
Water the transplanted sprouts immediately after planting to help settle the soil. Provide regular watering as needed to keep the soil moist and promote healthy growth. Remember to space the transplanted sprouts 18 to 24 inches apart to allow room for their development.
Continue to care for your transplanted Brussel sprouts by providing regular sunlight, proper watering, and any necessary fertilization. Soon enough, you’ll be enjoying homegrown Brussel sprouts harvested straight from your garden.

Picking the Perfect Location
When choosing a location for your Brussels sprouts, it’s essential to consider the amount of sunlight they will receive. Brussels sprouts thrive in sunny areas, so select a spot in your garden that receives plenty of direct sunlight. Aim for at least six hours of light each day to ensure optimal growth and yield.
While Brussels sprouts can tolerate some shade, excessive shade can slow down their growth. So, avoid placing them in areas that are heavily shaded throughout the day. Instead, opt for an area that is open and receives ample sunlight, especially during the morning and early afternoon.
When determining the ideal location, also consider the height of neighboring plants or structures that could potentially cast shadows on your Brussels sprouts. Ensure that they won’t be overshadowed by taller plants or obstructed by fences or walls.
| Location | Sunlight | Shade Tolerance |
|---|---|---|
| Full Sun | At least 6 hours per day | Low tolerance |
| Partial Sun | 4-6 hours per day | Moderate tolerance |
| Shaded | Less than 4 hours per day | Low tolerance |
Remember, providing your Brussels sprouts with sufficient sunlight is crucial for their overall health and productivity. Choose a location that offers the right amount of sun exposure, and your Brussels sprouts will reward you with delicious and bountiful harvests.
Watering and Fertilizing
Proper watering and fertilizing are essential for the healthy growth of your Brussel sprouts. Here are some important tips to keep in mind:
- Watering: Brussel sprouts need consistent moisture to thrive. Water them once a week with about 1 inch of water. This will ensure that the soil remains moist but not waterlogged. If you experience frequent rainfall, you may not need to water them as often. Keep an eye on the moisture level and adjust accordingly.
- Fertilizing: As your Brussel sprouts grow, they will require additional nutrients to support their development. When the plants reach a height of 12 inches, it’s time to fertilize. Choose a nitrogen-rich fertilizer and follow the instructions on the packaging for application rates. Fertilize your plants regularly throughout the growing season to promote healthy foliage and robust sprout formation.
Remember to always water your plants at the base to avoid wetting the leaves, as this can lead to disease. Additionally, it’s important to monitor the moisture level of the soil and adjust your watering schedule accordingly. The goal is to keep the soil consistently moist, but not saturated.
In terms of fertilizing, be sure to follow the manufacturer’s instructions for the specific fertilizer you choose. Too much fertilizer can burn the plants and hinder their growth, so it’s important to apply the correct amount. Regular fertilization will provide the necessary nutrients for your Brussel sprouts to thrive and produce abundant, tasty sprouts.
“Proper watering and fertilizing are crucial for the successful cultivation of Brussel sprouts. Without adequate moisture and nutrients, the plants may struggle to develop and produce high-quality sprouts. By following these simple guidelines, you can ensure healthy growth and a bountiful harvest.”
Table: Recommended Fertilizers for Brussel Sprouts
| Fertilizer | NPK Ratio | Application Rate |
|---|---|---|
| 10-10-10 | 10-10-10 | 1 pound per 100 square feet |
| 14-14-14 | 14-14-14 | 2 tablespoons per 1 gallon of water |
| 20-10-10 | 20-10-10 | 1 cup per 100 square feet |

It’s important to choose the right fertilizer for your Brussel sprouts. Consider the NPK ratio, which indicates the percentage of nitrogen (N), phosphorus (P), and potassium (K) in the fertilizer. The NPK ratio will vary depending on the specific brand and product.
Here are some recommended fertilizers for Brussel sprouts, along with their NPK ratios and application rates:
- 10-10-10: This balanced fertilizer contains equal parts nitrogen, phosphorus, and potassium. Apply 1 pound per 100 square feet of garden space.
- 14-14-14: Another balanced fertilizer, this one with a slightly higher nutrient concentration. Mix 2 tablespoons of fertilizer with 1 gallon of water and apply to your plants.
- 20-10-10: This fertilizer has a higher nitrogen content, which can promote vigorous growth. Use 1 cup per 100 square feet of garden space.
Remember to follow the instructions on the fertilizer packaging for best results. Applying too much fertilizer can harm your plants, so it’s important to use the recommended amount. Regular fertilization will keep your Brussel sprouts healthy and nourished throughout the growing season.
Maintaining the Correct pH
One of the key factors in successfully growing Brussel sprouts from scraps is maintaining the correct pH level in the soil. Brussel sprouts prefer a soil pH between 6.0 and 7.5. This range ensures optimal nutrient availability and uptake for the plants. To ensure your soil falls within this ideal pH range, it is important to test it before planting your sprouts.
You can easily test the pH level of your soil using a soil test kit or by sending a sample to a local agricultural extension service. Once you have the results, you can determine whether your soil needs any adjustments. If the pH is too low (acidic), you can raise it by adding lime or wood ash to the soil. On the other hand, if the pH is too high (alkaline), you can lower it by incorporating elemental sulfur or aluminum sulfate.
| pH Level | Action |
|---|---|
| Below 6.0 | Add lime or wood ash to raise the pH |
| Around 6.0 to 7.5 (Ideal range) | No action needed |
| Above 7.5 | Incorporate elemental sulfur or aluminum sulfate to lower the pH |
By maintaining the optimal pH level for your Brussel sprouts, you provide them with the best possible growing conditions. This ensures they can access and absorb the necessary nutrients from the soil, leading to healthy growth and bountiful harvests.
Mulching
Mulching is an essential practice when growing Brussel sprouts. It helps to suppress weed growth, retain moisture in the soil, and regulate soil temperature. A layer of organic mulch around your sprouts can make a significant difference in the success of your crop.
When selecting mulch for your Brussel sprouts, consider using materials such as grass clippings, straw, or compost. These organic options provide excellent insulation for the soil, prevent weed competition, and gradually add nutrients as they break down.
Apply the mulch around the base of the sprouts, taking care not to bury the stems. Start with a layer that is about 2-3 inches thick, making sure to cover the entire root zone. Keep the mulch about an inch away from the main stem to prevent rotting. As the mulch decomposes, replenish it periodically to maintain the desired depth.
| Mulch material | Advantages | Disadvantages |
|---|---|---|
| Grass clippings | Provides good weed suppression and moisture retention | May mat together and create a barrier for water and air |
| Straw | Excellent moisture retention and weed barrier | May harbor weed seeds if not properly sourced |
| Compost | Improves soil structure and fertility | May attract pests if not fully decomposed |
Remember to avoid using mulch that contains herbicides or weed seeds, as they can harm your plants. Regularly inspect the mulched area for pests and diseases, and take appropriate action if necessary.

Harvesting
Now comes the exciting part: harvesting your delicious Brussel sprouts! It’s important to know when and how to harvest them to ensure the best flavor and texture. Here’s what you need to do:
Harvest the Brussel sprouts when they are 1 to 1 1/2 inches wide by gently twisting them off the stalk. Make sure to use a firm but gentle motion to avoid damaging the plants. If they don’t come off easily, they may need a bit more time to mature.
It’s best to harvest them before the weather becomes too cold, usually around 20 to 30 degrees Fahrenheit. This will help preserve their flavor and prevent them from becoming too tough. Once you’ve harvested the sprouts, store them in a plastic bag in the refrigerator for up to 14 days.
Remember, the freshness of your Brussel sprouts is crucial for their taste, so try to use them as soon as possible after harvesting. Enjoy the fruits (or rather, sprouts) of your labor!
FAQ
How do I grow Brussel sprouts from scraps?
To grow Brussel sprouts from scraps, wash and prepare the sprouts. Cut off the bottom and place it in a container with water. Once the sprouts develop roots, transplant them into your main garden and care for them as usual.
How should I prepare Brussel sprout scraps?
To prepare Brussel sprout scraps, wash them thoroughly and remove any dead leaves. Make sure to rinse off any dirt or grime. Remove any yellowing or dead leaves from the bottom of the sprouts.
How do I cut the Brussel sprout scraps?
Cut off the bottom, or the flat part, of the sprout. This cutting will allow the roots to grow out from the scraps.
What should I do to prepare the container?
Fill a container with half an inch of water. You can use a plastic tub or a clay pot. Place the container in a prominent place where you can easily check on your cuttings.
How should I arrange the Brussel sprout scraps in the container?
Place the Brussel sprout scraps cutting-side-down on the surface of the water in the container. It’s okay if they touch each other or the container, but avoid overcrowding them.
When should I transplant the sprouts and how?
Transplant the Brussel sprouts scraps into your main garden when they have visible roots and reach a height of 3 inches. Choose a sunny location and space them 18 to 24 inches apart. Bury the roots completely in the soil.
Where should I choose to grow my Brussel sprouts?
Select a spot in your garden that receives plenty of direct sunlight. Brussel sprouts need at least six hours of light each day. Some shade won’t harm them, but too much shade can slow down their growth.
How often should I water and fertilize my Brussel sprouts?
Water your Brussel sprouts once a week with about 1 inch of water, ensuring the soil remains moist. If it rains frequently, you don’t need to worry about watering them. Fertilize the sprouts with a nitrogen-rich fertilizer when they are 12 inches tall.
What should be the pH level for Brussel sprouts?
Brussel sprouts prefer a soil pH between 6.0 and 7.5. Test your soil to ensure it falls within this range. Adjust the pH if necessary using additives like limestone or iron sulfate.
How should I mulch my Brussel sprouts?
Apply a layer of mulch, such as grass clippings or straw, around your sprouts to prevent weed growth and retain soil moisture. Make sure the mulch is free from herbicides or weeds.
When and how should I harvest my Brussel sprouts?
Harvest the Brussel sprouts when they reach the desired size, usually 1 to 1 1/2 inches wide. Twist them off the stalk. Harvest them before the weather becomes too cold, usually around 20 to 30 degrees Fahrenheit. Store them in a plastic bag in the refrigerator for up to 14 days.


